-
An astronomical anniversary: Young people’s code heads to the International Space Station
25,707 young people’s code runs on ISS for Astro Pi 2025/26 success
-
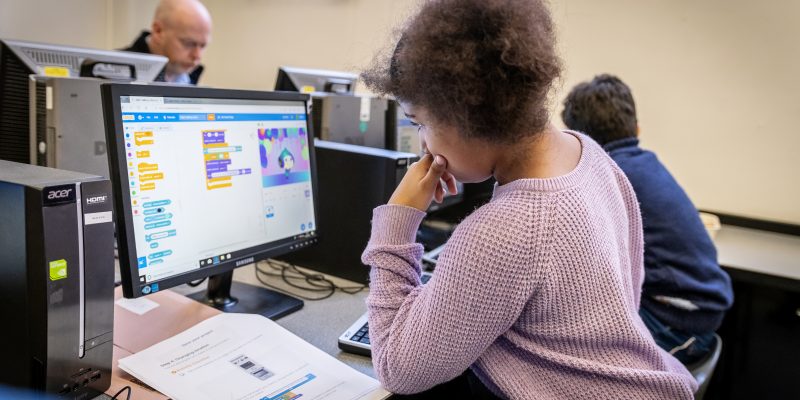
Experience AI: Reaching millions of young people with AI literacy
Experience AI builds knowledge and confidence to engage with AI
-
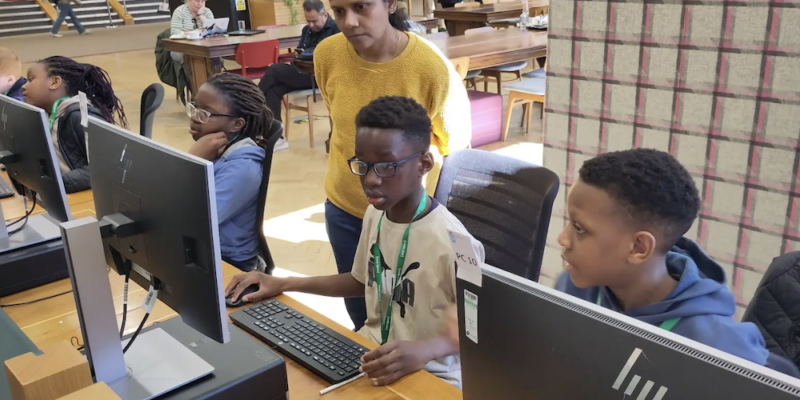
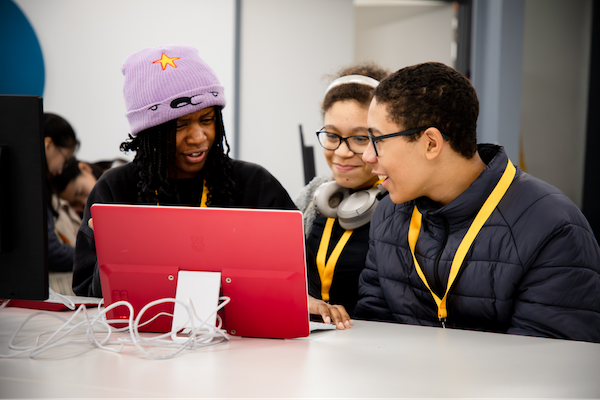
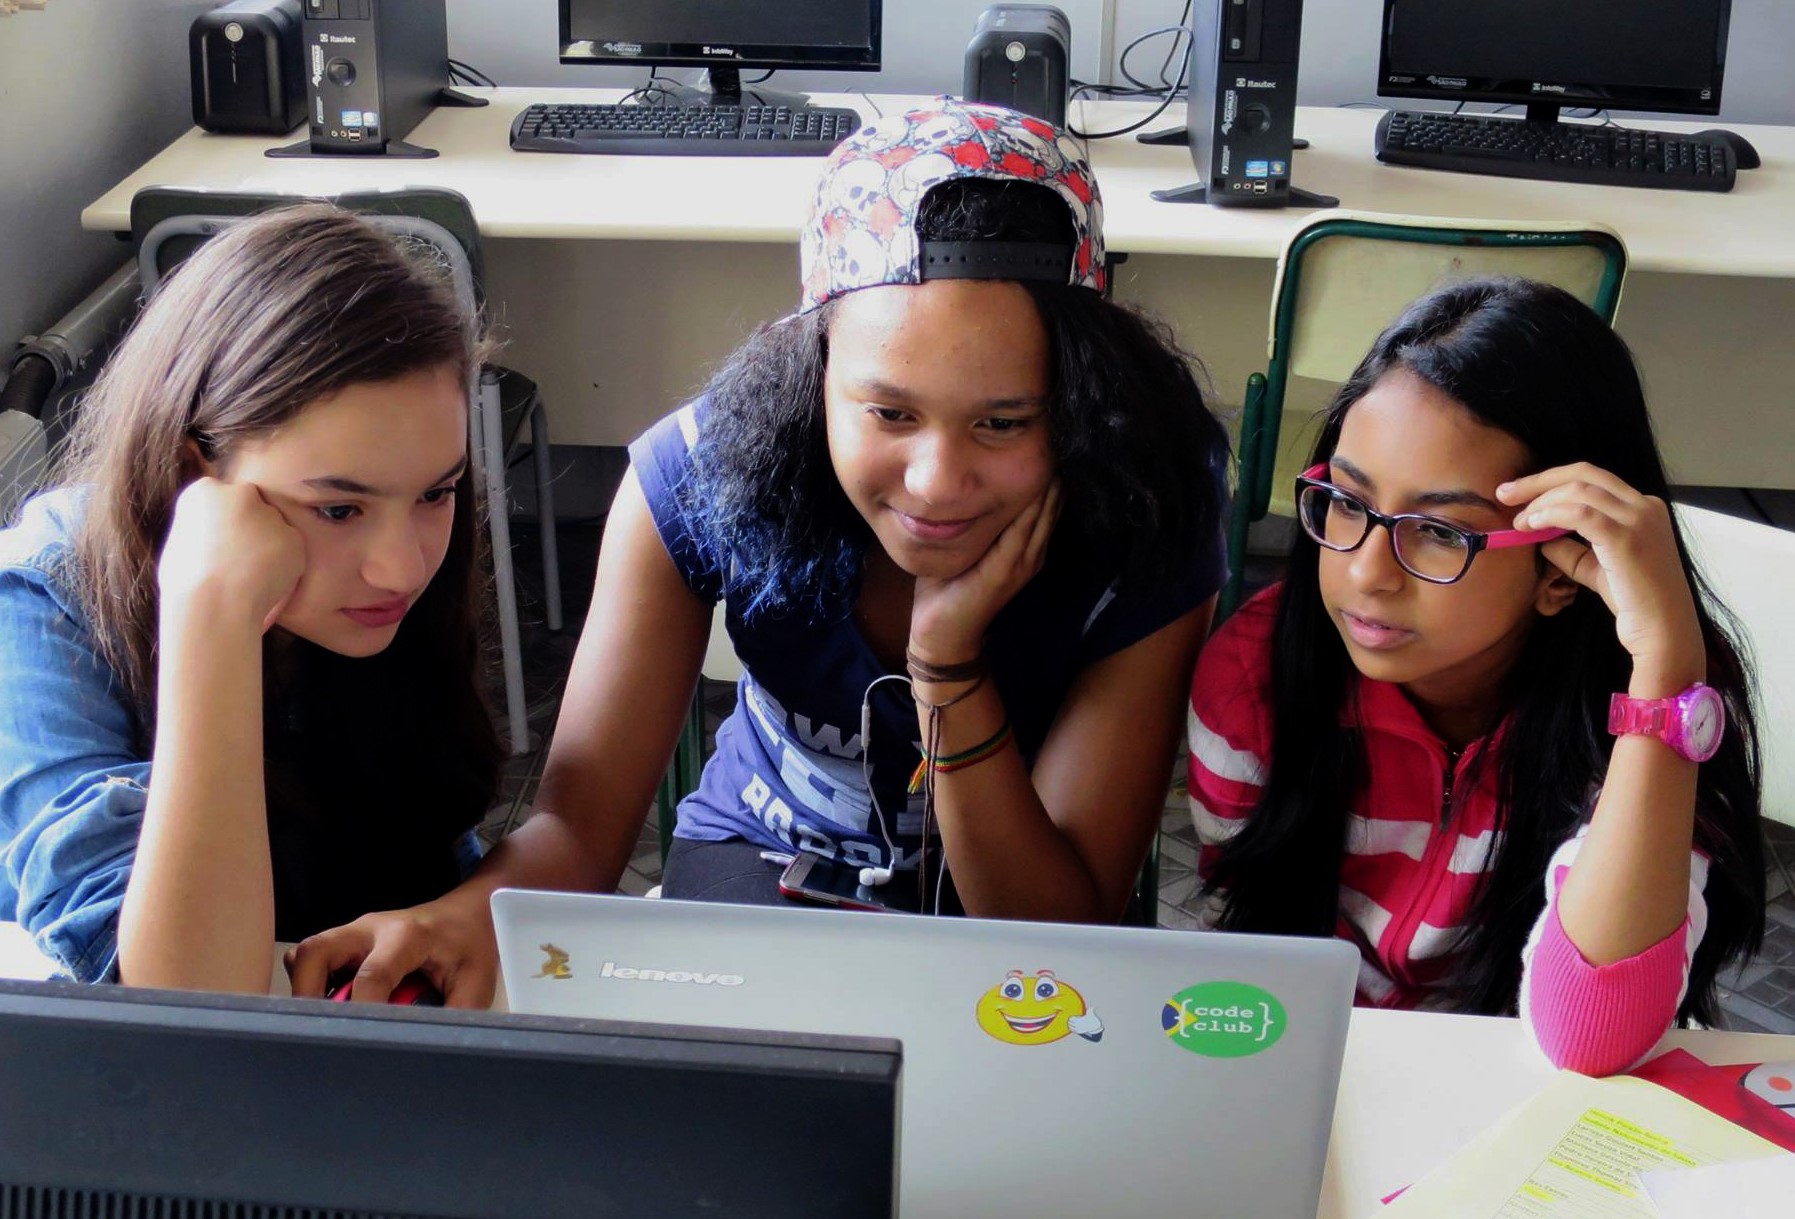
Many paths into mentoring: Building inclusive Code Clubs in Glasgow
Glasgow Code Clubs build inclusive spaces for youth, confidence and volunteers.
-
Experience CS: The complete set of units is live
Experience CS complete: 18 free cross-curricular CS units for grades 3–8
-
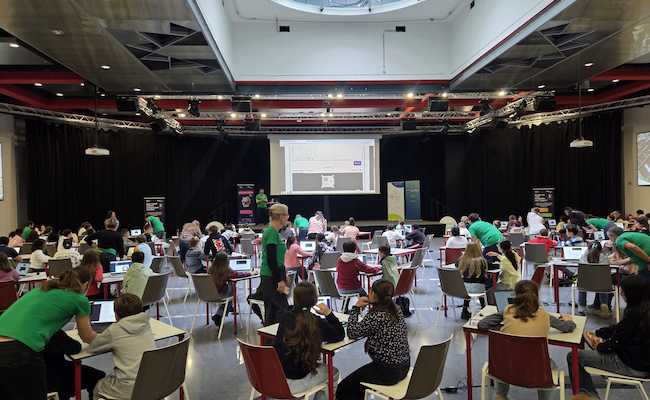
Highlights from Astro Pi 2025–2026 community events
Astro Pi 2025–26 events inspire youth coding through workshops and space labs
-
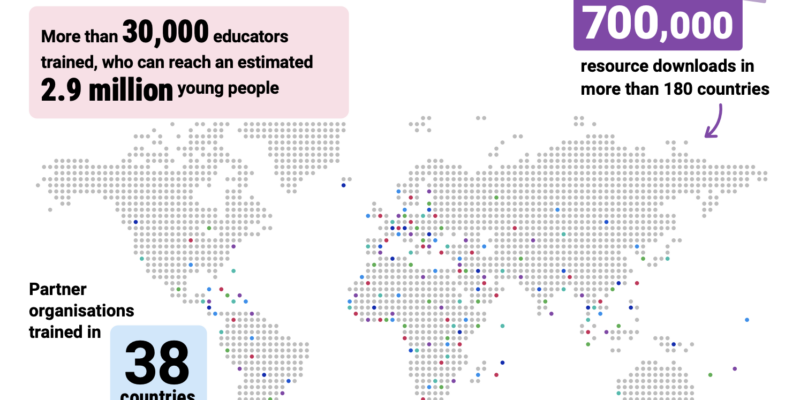
Bringing AI education to 1.25 million students across Latin America
Expanding Experience AI to train 24,000 educators and reach 1.25m students
-
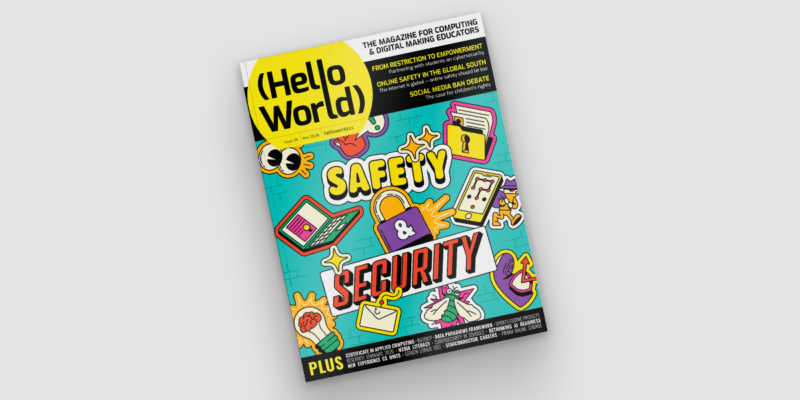
Hello World #29 out now: Safety and security
Educators share how to support young people to navigate online risks and understand cybersecurity
-
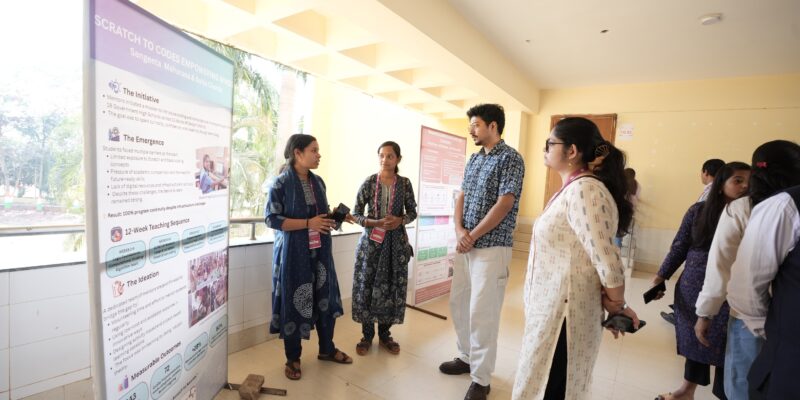
Computing and AI for all: From classrooms to national dialogue in India
Putting teachers' experiences at the heart of dialogue about computing and AI in India
-
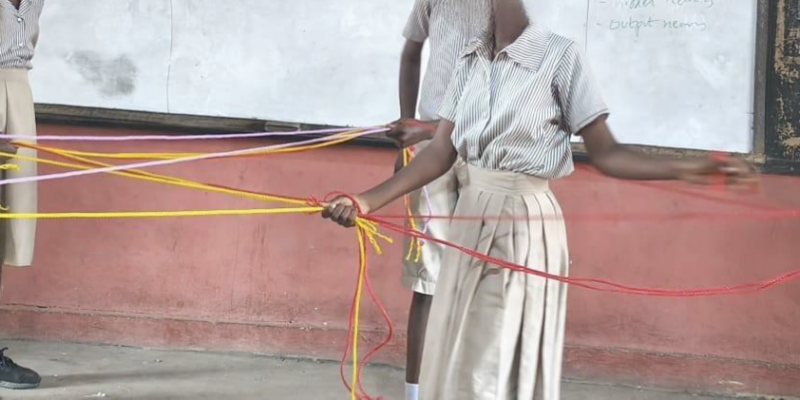
Do you have some rope? Then let’s teach about AI concepts
This may be the 'jam sandwich' activity for AI education
-
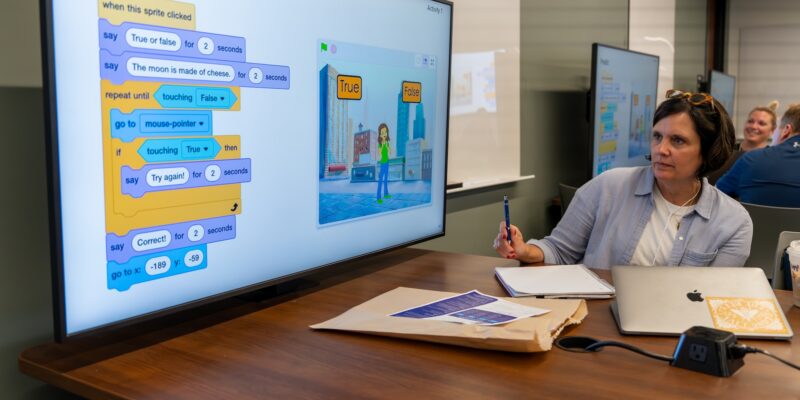
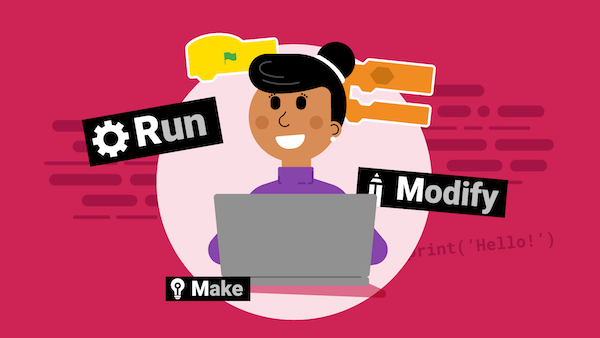
‘Using PRIMM to teach programming’: A new short course for educators
A new course to support educators to confidently teach programming
-
The challenges of measuring AI literacy
Research-based assessment tools for computational thinking and AI literacy in class
-
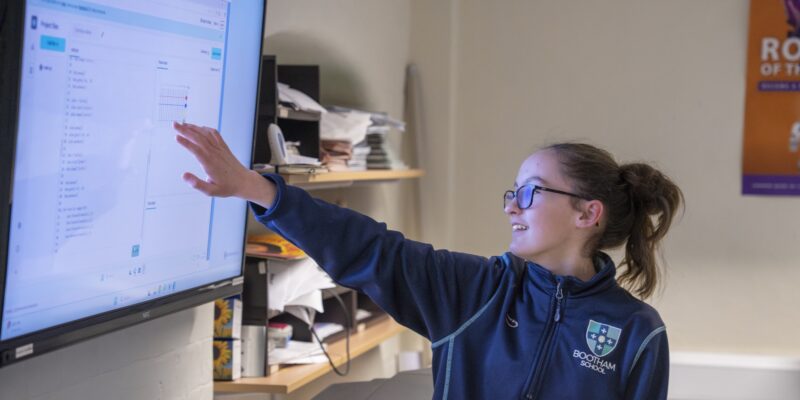
Levelling up with Python: Create with data
Level up Python skills by creating meaningful projects with data