
Manufacturing Astro Pi case replicas
Tim Rowledge produces and sells wonderful replicas of the cases which our Astro Pis live in aboard the International Space Station. Here is the story of how he came to do this. Over to you, Tim!
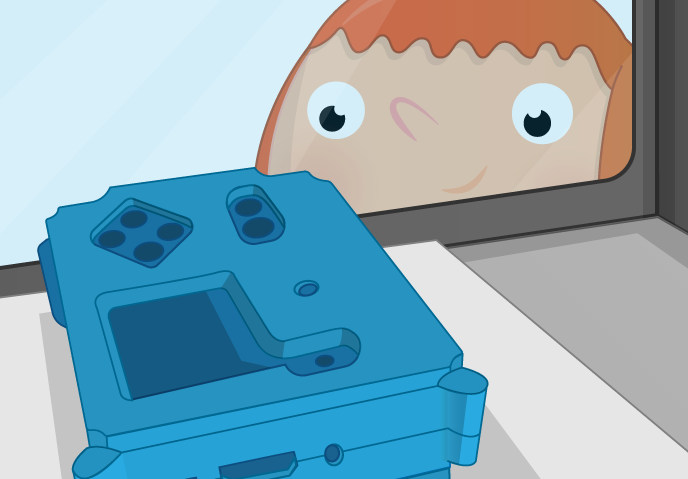
When the Astro Pi case was first revealed a couple of years ago, the collective outpouring of ‘Squee!’ it elicited may have been heard on board the ISS itself. People wanted to buy it or build it at home, and someone wanted to know whether it would blend. (There’s always one.)
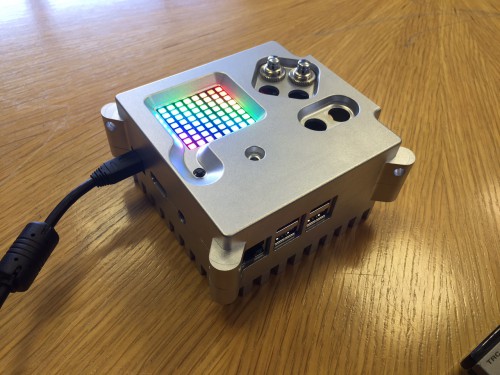
The Sense HAT and its Pi tucked snugly in the original Astro Pi flight case — gorgeous, isn’t it?
Replicating the Astro Pi case
Some months later the STL files for printing your own Astro Pi case were released, and people jumped at the chance to use them. Soon reports appeared saying you had to make quite a few attempts before getting a good print — normal for any complex 3D-printing project. A fellow member of my local makerspace successfully made a couple of cases, but it took a lot of time, filament, and post-print finishing work. And of course, a plastic Astro Pi case simply doesn’t look or feel like the original made of machined aluminium — or ‘aluminum’, as they tend to say over here in North America.

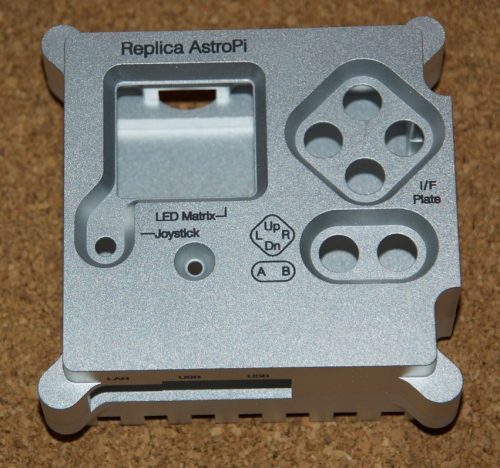
A batch of tops designed by Tim
I wanted to build an Astro Pi case which would more closely match the original. Fortunately, someone else at my makerspace happens to have some serious CNC machining equipment at his small manufacturing company. Therefore, I focused on creating a case design that could be produced with his three-axis device. This meant simplifying some parts to avoid expensive, slow, complex multi-fixture work. It took us a while, but we ended up with a design we can efficiently make using his machine.
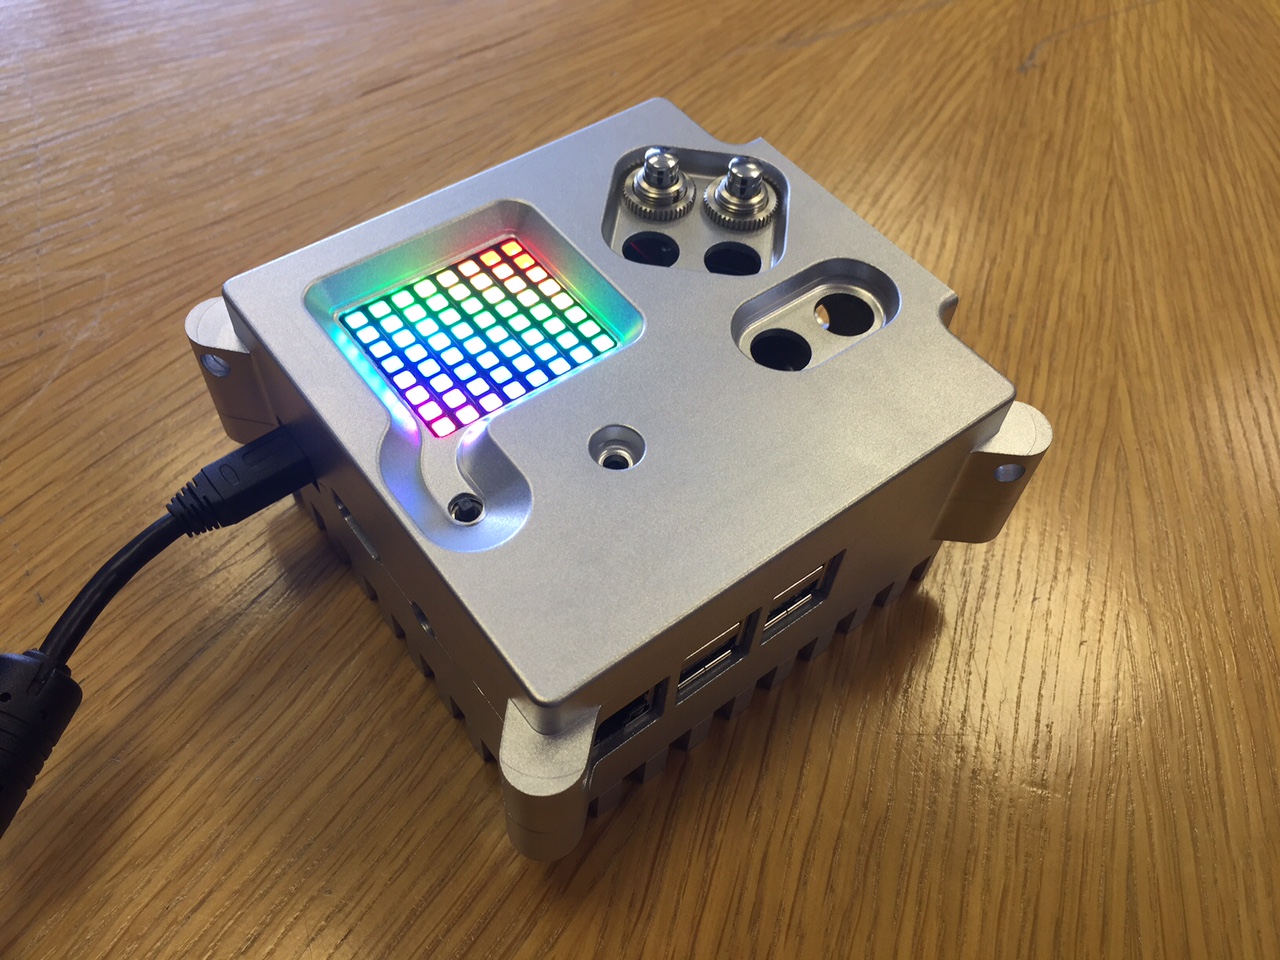
Tim’s first lasered case
And the resulting case looks really, really like the original — in fact, upon receiving one of the final prototypes, Eben commented:
“I have to say, at first glance they look spectacular: unless you hold them side by side with the originals, it’s hard to pinpoint what’s changed. I’m looking forward to seeing one built up and then seeing them in the wild.”
Inside the Astro Pi case
Making just the bare case is nice, but there are other parts required to recreate a complete Astro Pi unit. Thus I got my local electronics company to design a small HAT to provide much the same support the mezzanine board offers: an RTC and nice, clean connections to the six buttons. We also added well-labelled, grouped pads for all the other GPIO lines, along with space for an ADC. If you’re making your own Astro Pi replica, you might like the Switchboard.
The electronics supply industry just loves to offer *some* of what you need, so that one supplier never has everything: we had to obtain the required stand-offs, screws, spacers, and JST wires from assorted other sources. Jeff at my nearby Industrial Paint & Plastics took on the laser engraving of our cases, leaving out copyrighted logos etcetera.
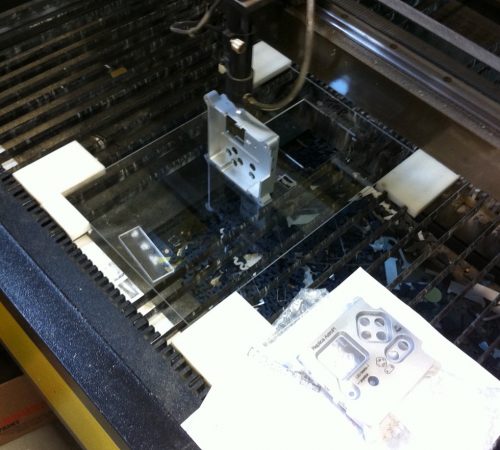
Lasering the top of a case
Get your own Astro Pi case
Should you like to buy one of our Astro Pi case kits, pop over to www.astropicase.com, and we’ll get it on its way to you pronto. If you’re an institutional or corporate customer, the fully built option might make more sense for you — ordering the Pi and other components, and having a staff member assemble it all, may well be more work than is sensible.

Tim’s first full Astro Pi case replica, complete with shiny APEM buttons
To put the kit together yourself, all you need to do is add a Pi, Sense HAT, Camera Module, and RTC battery, and choose your buttons. An illustrated manual explains the process step by step. Our version of the Astro Pi case uses the same APEM buttons as the units in orbit, and whilst they are expensive, just clicking them is a source of great joy. It comes in a nice travel case too.
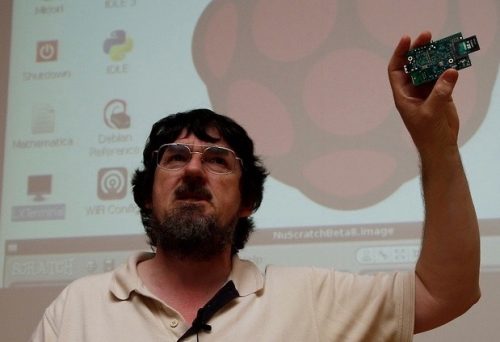
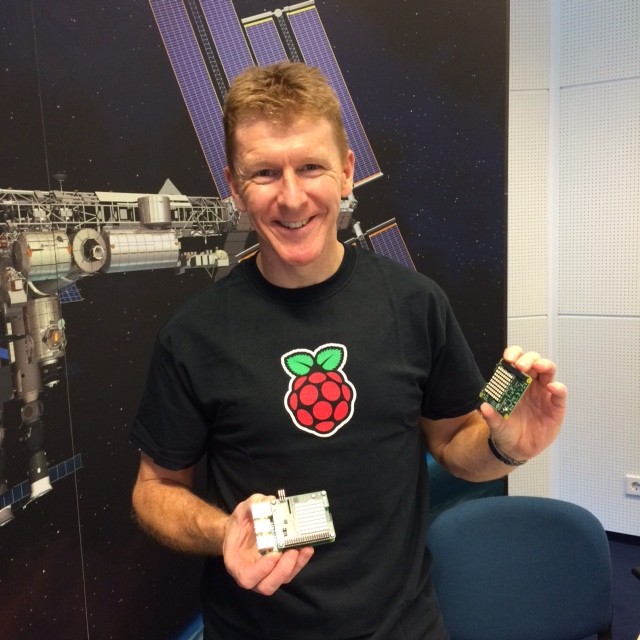
This is Tim. Thanks, Tim!
Take part in Astro Pi
If having an Astro Pi replica is not enough for you, this is your chance: the 2017-18 Astro Pi challenge is open! Do you know a teenager who might be keen to design a experiment to run on the Astro Pis in space? Are you one yourself? You have until 29 October to send us your Mission Space Lab entry and become part of the next generation of space scientists? Head over to the Astro Pi website to find out more.
Are you keen to print your own case? We have step-by-step instructions to help you do just that. Check out some of the beautiful 3D prints people have created using our guide!


11 comments
Dougie Lawson
Wow! Squee!
W. H. Heydt
Now where can I find a bank to rob to afford one… (And what Dougie Lawson said.)
Mark Daniels
Very nice, but can it produce a 1202 error? ;)
tim
Hmm, probably best if you buy one and test it to find out…
Mark Daniels
Hi Tim, it is rather lovely and if I had the use for it and it was 1969, I would probably buy one! It bears more than a slight resemblance to the computer in this picture, which coincidentally is displaying a 1202 error:
https://www.mcs-consulting.com.au/news/requirements-analysis/20958/
tim
Hmm, now that’s an interesting idea…
Mark Daniels
Tim, you know if you wait until 2019, it will be the 50th anniversary and you could do a gold anodised version! ;)
Ben
They are nice, just need some new NoIR filters cut to fit like the ‘upgrade’
https://www.raspberrypi.org/blog/astro-pi-upgrades/
David Waterhouse
Loved it until I saw the price! Even for a dyed-in-the-wool enthusiast, with more Pi’s than you can shake a stick at and with Christmas approaching, it’s priced way out of my range.
Brandon Lee
Anyone have the model number on the APEM buttons?
Raspberry Pi Staff Janina Ander — post author
Yep, it’s 104350003.